複数画面を遷移させたいときにAvtivityを複数使ってたのですが、なにかで、画面遷移はFragment を使って遷移させるほうがいいという記事を見たのでFragment を使ってみました。
やりたいことは一つのAvtivityに二つのFragment を配置して一つのFragment のボタンを押せば、もう一つのFragment に文字が表示されるというものです。
まずはavtivity_main.xmlにcontainerとしてFramelayoutを二つ配置しました。
avtivity_main.xml
<?xml version="1.0" encoding="utf-8"?>
<androidx.constraintlayout.widget.ConstraintLayout xmlns:android="http://schemas.android.com/apk/res/android"
    xmlns:app="http://schemas.android.com/apk/res-auto"
    xmlns:tools="http://schemas.android.com/tools"
    android:layout_width="match_parent"
    android:layout_height="match_parent"
    tools:context=".MainActivity" android:id="@+id/ConstraintLayout">

    <FrameLayout
        android:id="@+id/container1"
        android:layout_width="0dp"
        android:layout_height="wrap_content"
        app:layout_constraintBottom_toTopOf="@+id/container2"
        app:layout_constraintEnd_toEndOf="parent"
        app:layout_constraintStart_toStartOf="parent"
        app:layout_constraintTop_toTopOf="parent">

    </FrameLayout>

    <FrameLayout
        android:id="@+id/container2"
        android:layout_width="0dp"
        android:layout_height="wrap_content"
        app:layout_constraintBottom_toBottomOf="parent"
        app:layout_constraintEnd_toEndOf="parent"
        app:layout_constraintStart_toStartOf="parent">

    </FrameLayout>
</androidx.constraintlayout.widget.ConstraintLayout>
一つのFragment(画面上に配置)はtext viewを一つ。
fragment_test.xml
<?xml version="1.0" encoding="utf-8"?>
<androidx.constraintlayout.widget.ConstraintLayout xmlns:android="http://schemas.android.com/apk/res/android"
    xmlns:app="http://schemas.android.com/apk/res-auto"
    xmlns:tools="http://schemas.android.com/tools"
    android:id="@+id/constraintLayout"
    android:layout_width="match_parent"
    android:layout_height="match_parent"
    tools:context=".testFragment">

    <!-- TODO: Update blank fragment layout -->
    <TextView
        android:id="@+id/text"
        android:layout_width="wrap_content"
        android:layout_height="wrap_content"
        app:layout_constraintBottom_toBottomOf="parent"
        app:layout_constraintEnd_toEndOf="parent"
        app:layout_constraintStart_toStartOf="parent"
        app:layout_constraintTop_toTopOf="parent" />

</androidx.constraintlayout.widget.ConstraintLayout>
もう一つのFragment(画面下に配置)にはButtonを一つ配置。
fragment_test2.xml
<?xml version="1.0" encoding="utf-8"?>
<androidx.constraintlayout.widget.ConstraintLayout xmlns:android="http://schemas.android.com/apk/res/android"
    xmlns:app="http://schemas.android.com/apk/res-auto"
    xmlns:tools="http://schemas.android.com/tools"
    android:id="@+id/constraintLayout"
    android:layout_width="match_parent"
    android:layout_height="match_parent"
    tools:context=".testFragment2">


    <Button
        android:id="@+id/button1"
        android:layout_width="@dimen/bpmfbutton_width"
        android:layout_height="@dimen/bpmfbutton_height"
        android:layout_weight="1"
        android:background="@drawable/button_state1"
        android:text="@string/button1"
        android:textSize="@dimen/button_text_size"
        app:layout_constraintBottom_toBottomOf="parent"
        app:layout_constraintEnd_toEndOf="parent"
        app:layout_constraintStart_toStartOf="parent"
        app:layout_constraintTop_toTopOf="parent" />


</androidx.constraintlayout.widget.ConstraintLayout>
MainActivityにはアプリが起動したときにFragmentを配置するように設定しました。
MainActivity.kt
package com.example.myfragmentex

import androidx.appcompat.app.AppCompatActivity
import android.os.Bundle

class MainActivity : AppCompatActivity() {
    override fun onCreate(savedInstanceState: Bundle?) {
        super.onCreate(savedInstanceState)
        setContentView(R.layout.activity_main)

        val testfragment = testFragment()
        val testfragment2 = testFragment2()
        val transaction = supportFragmentManager.beginTransaction()
        transaction.add(R.id.container1, testfragment)
        transaction.add(R.id.container2, testfragment2)
        transaction.commit()

    }
}
text viewを配置したほうのFragmentはいろいろ触ってみたけど、結局、生成された時のまま。
testFragment.kt
package com.example.myfragmentex

import android.os.Bundle
import androidx.fragment.app.Fragment
import android.view.LayoutInflater
import android.view.View
import android.view.ViewGroup
import android.widget.TextView


class testFragment : Fragment() {

    override fun onCreateView(
        inflater: LayoutInflater, container: ViewGroup?,
        savedInstanceState: Bundle?
    ): View? {
        val view = inflater.inflate(R.layout.fragment_test, container, false)
        //text = view?.findViewById(R.id.text)

        // Inflate the layout for this fragment
        return view
    }


}
Buttonを配置したFragmentはいろいろ調べた結果、これで動きました。
package com.example.myfragmentex

import android.os.Bundle
import androidx.fragment.app.Fragment
import android.view.LayoutInflater
import android.view.View
import android.view.ViewGroup
import android.widget.Button
import android.widget.TextView

class testFragment2 : Fragment() {

    override fun onCreateView(
        inflater: LayoutInflater, container: ViewGroup?,
        savedInstanceState: Bundle?
    ): View? {
        // Inflate the layout for this fragment
        val view = inflater.inflate(R.layout.fragment_test2, container, false)

        button = view?.findViewById<View>(R.id.button1) as Button?

        return view
    }

    override fun onStart( ) {
        super.onStart()


    }

    override fun onActivityCreated(savedInstanceState: Bundle?) {
        super.onActivityCreated(savedInstanceState)

        text= getActivity()?.findViewById(R.id.text)
        button?.setOnClickListener {
            text?.append("1")
        }
    }

 }
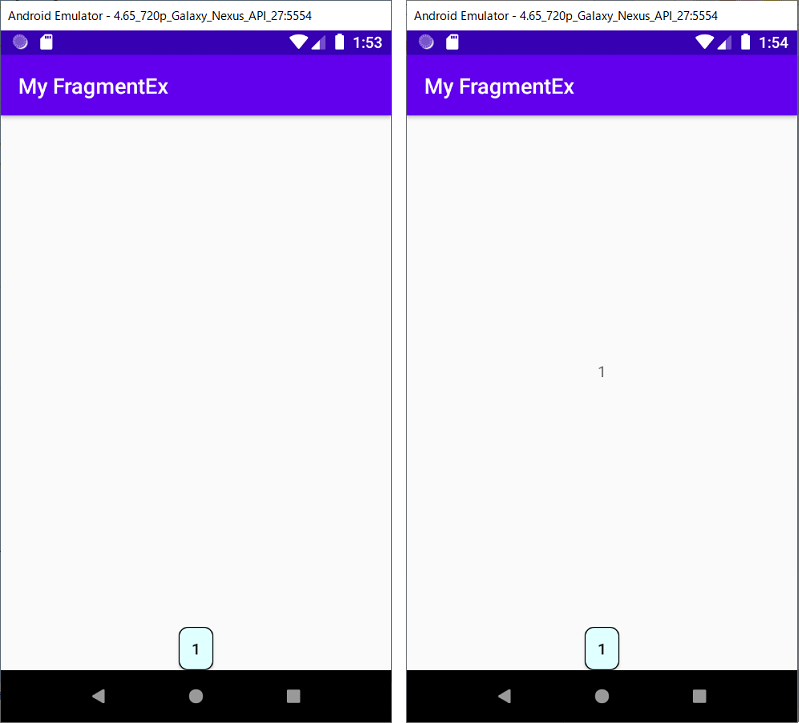
実行するとこのようになります。

画面下のボタンを押すと1が表示されるだけのアプリです。


コメント